


After making a few minor home improvements and checking the prices of houses in your neighborhood, you’re ready to put your home on the market. High-quality pictures help buyers see themselves living in your property, and you want to highlight all your home’s best features. Emphasis on “light.”
While exploring houses for sale, buyers linger on property listings for only a few seconds. Including well-lit images of your home’s interior shows its potential. Great lighting also accentuates the details that make your home beautiful and unique. Use these tips to light the way to becoming a home photography pro.
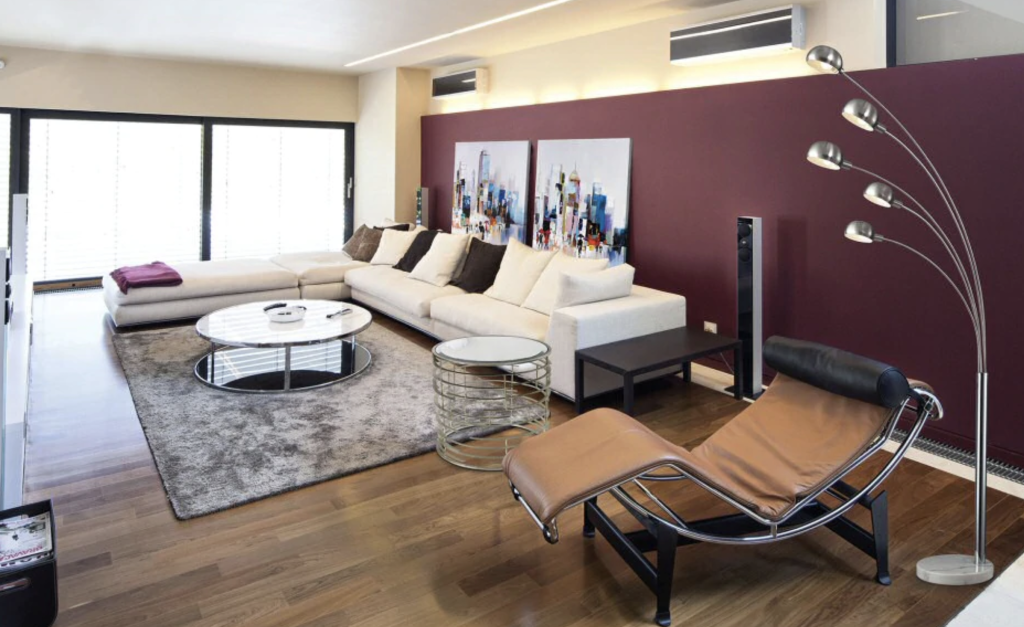
Turn on the Lights
Maybe you have gorgeous light fixtures throughout your home. If so, turn them on before taking pictures of them. Then, take a step back to see if the light pouring through the windows overpowers the light fixtures. If it does, close the curtains.
Light fixtures require a bit of finesse to emphasize because the shots need a balance of highlights and shadows. Keep unwanted shade out of your shots by using LED flashlights. Other than an LED or rechargeable flashlight, you can also combine natural light and a flash reflected off the wall or ceiling to fill shadows with glorious light.
When images include multiple light sources, they should all have the same color temperature to avoid giving your pictures a blue or red cast. If your light fixtures and natural light color temperatures don’t match, try shooting at a different time of day. Window light differs depending on which way the window faces and the position of the sun.
Harness the Power of Natural Light
If you want magazine-quality photos of your house, you must master the art of natural lighting. Rooms with natural light have a subtle glow that makes them look warm and inviting. What’s even greater is that natural lighting’s free!
When photographing rooms in natural light, consider what time of day the light looks best. Usually, afternoon lighting makes all spaces look great, but rooms in your home may not have the best lighting during afternoons or mornings. Try out different times to see what you think.
Open all the blinds in a room for maximum sun exposure. If windows create a contrast in your photos, cover the glass with net curtains. Once you open the blinds, turn off all the lights to maintain the same color temperature.
Use a Bounced Flash To Light Up Shadows
While natural lighting makes rooms look vibrant, it may also pull in deep shadows. Using a camera flash and reflectors like walls and ceilings combats this.
Rather than aiming the flash straight ahead like you normally would, aim it slightly backward or up at the ceiling. Pointing the flash forward only creates more shadows. For more accurate positioning, use a radio trigger, which lets the camera and flash link with each other without being physically connected.
A room’s natural light may not enhance a photo much, or a room’s window may not let in much light. Either way, use a flash to replicate natural light. Make the space look naturally lit by pointing the flash at the same wall lit up by the window. The flash provides the same diffused, gentle light as natural light.
While using a flash instead of natural lighting, check that the light on the wall and the flash do not fall into the frame. If this becomes unavoidable, take a second identical picture without the flash, then cover up the flash or natural light on the wall with post-processing software.
If a picture’s worth a thousand words, a well-lit picture’s worth a million. See what interested buyers have to say once they see images of your beautifully lit home for sale.